


Photography 101: What is ISO?
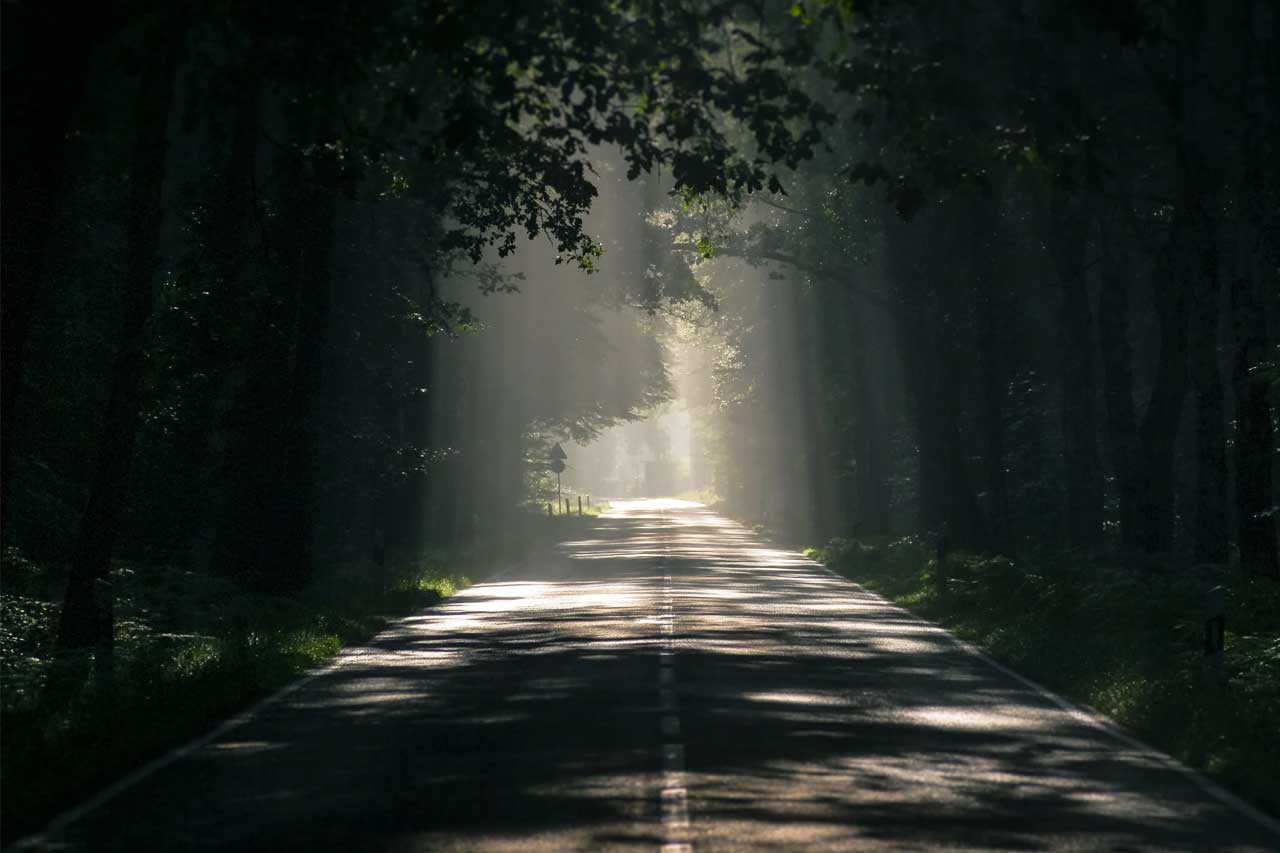
In photography, there are three important camera settings that you will need to understand to elevate your photos, these ISO, Aperture, and Shutter Speed. In this article, we are going to find out exactly what ISO is and how you can use it to take better photos.
What does ISO stand for?
ISO stands for the International Organization for Standardization — an organization that sets international standards for all different kinds of measurements. But, when it comes to your camera, the ISO is your camera's sensitivity to light.
What is ISO?
In very basic terms, ISO is simply a camera setting that will brighten or darken a photo. As you increase your ISO number, your photos will get progressively brighter and as you decrease the ISO number, it will get darker.
However, raising your ISO has consequences. A photo taken at too high of an ISO will show a lot of grain and could be unusable. Really, you should only raise your ISO when you are unable to brighten the photo via shutter speed or aperture instead.
What are the common ISO values?
Every camera has a different range of ISO values (sometimes called ISO speeds) that you can use. A common set is as follows:
ISO 100 (low ISO)
ISO 200
ISO 400
ISO 800
ISO 1600
ISO 3200
ISO 6400 (high ISO)
It’s important to know that when you double your ISO speed, you are doubling the brightness of the photo.
The lowest native ISO on your camera is your “base ISO”. This is a vital setting because it will help you produce the highest image quality and reduce any graininess. Ideally, you should try to stick to the base ISO to get the highest image quality. But that is not always possible especially when working in low-light conditions.
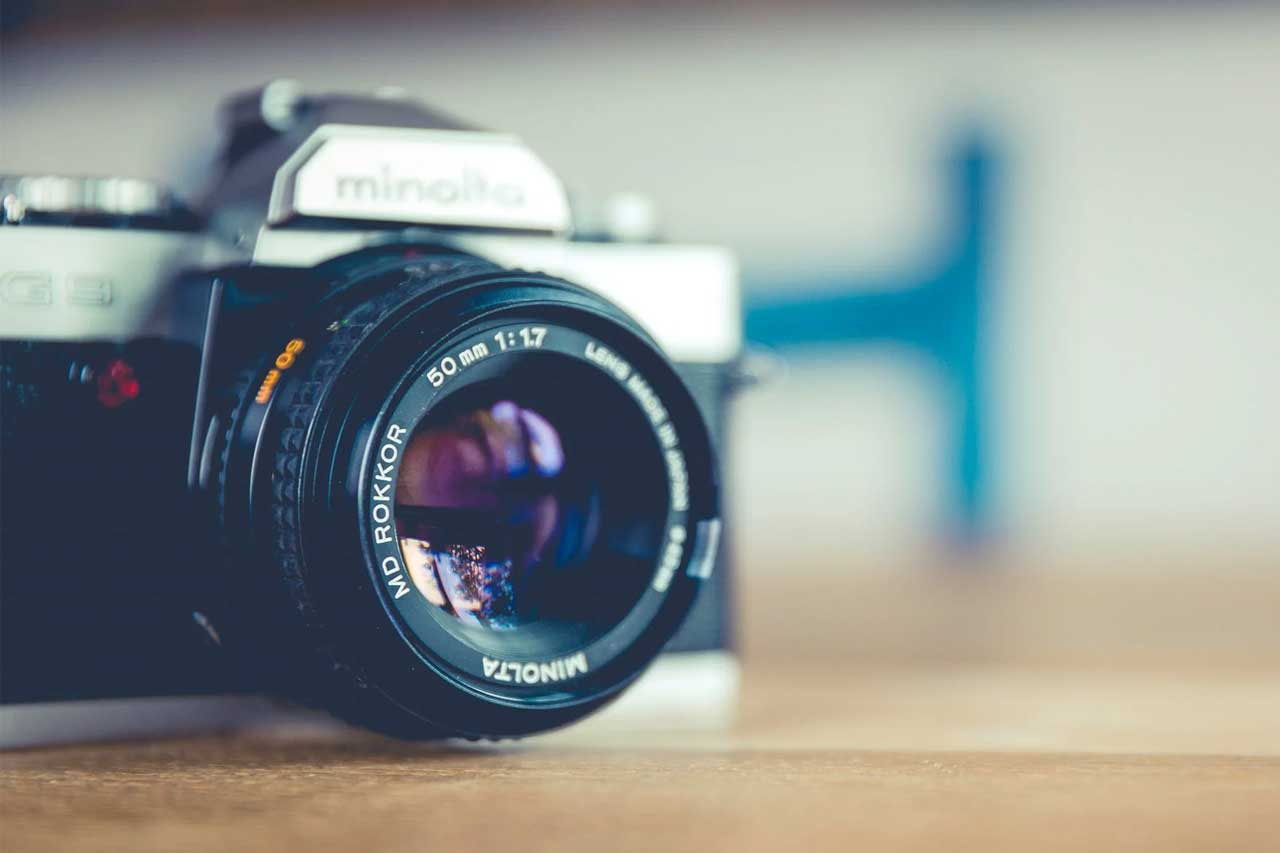
How to Change ISO?
Here are some common ways to change ISO:
To start, enter a mode that lets you select the ISO yourself. Get out of Auto mode, and go to Manual, Shutter Priority, Aperture Priority, or Program (we tend to prefer Aperture Priority or Manual)
.
For entry-level DSLRs and mirrorless cameras, you probably need to open a menu (possibly the “quick menu”) and find the section for ISO. Select the value you want, or set it to Auto.
For higher-end cameras, there may be a dedicated “ISO” button on the camera. Press it while spinning one of the wheels to change your ISO setting.
Changing ISO does vary from camera to camera, so check your camera manual if you still aren’t sure.
Which ISO setting should I use?
You should always try to stick to the lowest ISO (base ISO) of your camera, which is typically ISO 100 or 200, whenever you can. If there is plenty of light, you can have a low ISO to reduce any graininess in images.
A general rule of thumb is that if it is sunny you should use a low ISO and if it is dark or gloomy use a high ISO. These are the ISO setting you would need to use for:
If it is sunny you will need to set your ISO setting between 100 to 200
If you are doing an indoors shoot you will need to set your ISO between 400-800
If there is no natural light you may need to use high ISO than 800
On most cameras, there is an Auto ISO setting, which works great in low-light environments and means you don’t need to keep changing the setting. You can set the maximum ISO so that the camera does not cross that limit and will give you plenty of opportunities to take breath-taking photos.
I hope we have answered your questions about ISO, but if we haven’t please get in touch. Our expert team is photography mad and will happily answer any questions you may have!