


Get the most out of your winter photography
How to Capture Stunning Winter Photos in the UK
Winter is a wonderful season for photography, especially in the UK. The landscape transforms into a magical wonderland, the light is soft and warm, and the skies are dramatic and colourful. Whether you want to photograph snowy scenes, frosty mornings, or winter wildlife, there are plenty of opportunities to capture stunning images. In this blog post, I will share some tips and ideas on how to make the most of winter photography in the UK.

1. Choose the right location
The UK has many beautiful places to photograph in winter, from the rugged mountains of Scotland to the charming villages of England. Some of the best locations are:
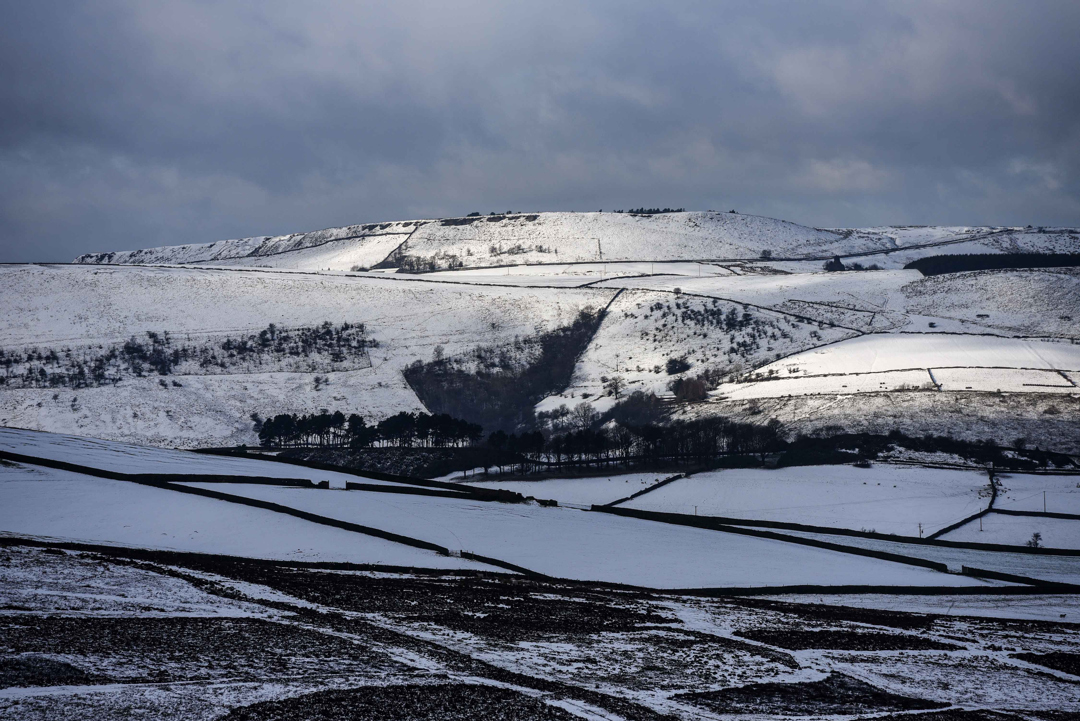
Peak District, England: We are blessed to be at the edge of the Peak District which is a popular destination for photographers all year round, but it has a special charm in winter. The reservoirs reflect the changing colours of the sky, the hills are covered in frost, and the trees are bare and elegant. You can also explore the picturesque towns and villages, such as Castleton, Hathersage and Buxton.

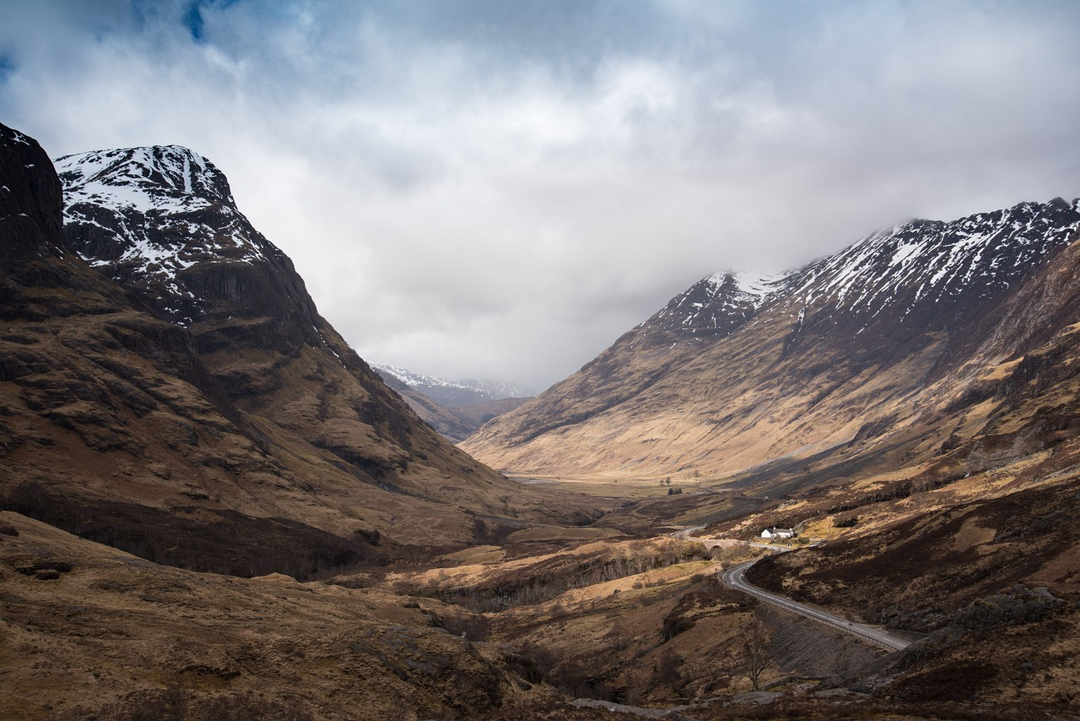
Glencoe, Scotland: This is one of the most iconic and dramatic landscapes in the UK, and it looks even more stunning in winter. The snow-capped peaks, frozen waterfalls, and misty valleys create a breathtaking backdrop for your photos. You can also find some interesting subjects, such as red deer, mountain hares, and golden eagles.
Snowdonia, Wales: Snowdonia is a paradise for landscape photographers, with its majestic mountains, serene lakes, and cascading waterfalls. In winter, the scenery becomes even more dramatic, with snow and ice adding contrast and texture. You can also photograph some of the historic castles, such as Caernarfon, Conwy, and Harlech.
Norfolk, England: Norfolk is a great place to photograph winter wildlife, especially birds. The Norfolk coast is home to thousands of migratory and resident birds, such as geese, swans, ducks, and waders. You can also visit the Norfolk Broads, a network of rivers and lakes that host a variety of wildlife, such as otters, kingfishers, and bitterns.
2. Plan ahead
Winter photography requires some planning and preparation, as the weather can be unpredictable and challenging. Here are some things to consider before you head out:
- Check the weather forecast: The weather can change quickly in winter, so it is important to check the forecast before you go. You can use apps or websites, such as Met Office, BBC Weather, or AccuWeather, to get the latest information on temperature, wind, rain, snow, and cloud cover. You can also use apps or websites, such as PhotoPills, The Photographer’s Ephemeris, or SunCalc, to find out the sunrise and sunset times, the direction of the sun, and the moon phases
- Pack the right gear: Winter photography can be demanding on your gear, so you need to pack the right equipment and accessories. Here are some essentials:
- Camera: You can use any camera for winter photography, but it is advisable to choose one that is weather-sealed and has good battery life. You can also bring a spare battery and keep it warm in your pocket, as the cold can drain the battery faster.
- Lenses: You can use any lens for winter photography, but it is good to have a variety of focal lengths to capture different perspectives. A wide-angle lens can capture the vastness of the landscape, a telephoto lens can isolate details and wildlife, and a macro lens can reveal the beauty of snowflakes and frost.
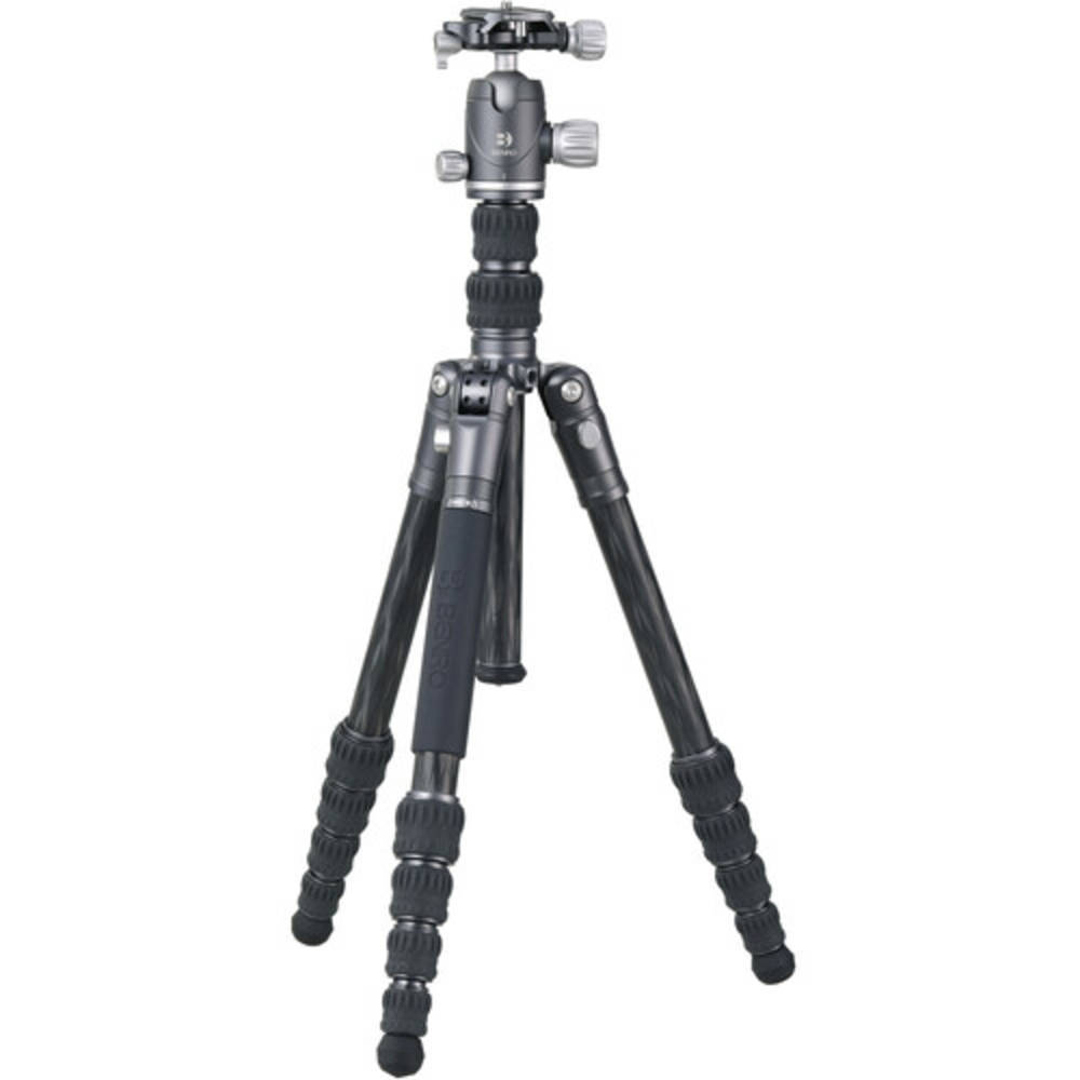
- Tripod: A tripod is essential for winter photography, as it can help you achieve sharp images, especially in low-light conditions. You can also use a tripod to create long exposures, such as blurring the movement of water or clouds. Choose a sturdy and stable tripod that can withstand the wind and the weight of your gear.
- Filters: Filters can enhance your winter photos by improving the exposure, colour, and contrast. Some of the most useful filters are:
- Polarising filter: This filter can reduce reflections and glare from wet surfaces, such as snow, ice, and water. It can also deepen the colour of the sky and increase the contrast between the clouds and the sky.
- Neutral density filter: This filter can reduce the amount of light entering the lens, allowing you to use slower shutter speeds and wider apertures. You can use this filter to create long exposures, such as blurring the movement of water or clouds.
- Graduated neutral density filter: This filter can balance the exposure between the bright sky and the dark foreground, preventing overexposure or underexposure. You can use this filter to capture the details and colours of the sky and the landscape.
- Remote shutter release: A remote shutter release can help you avoid camera shake and achieve sharper images, especially when using a tripod and slow shutter speeds. You can use a wired or wireless remote shutter release, or use the self-timer or the smartphone app of your camera.
- Dress warmly: Winter photography can be cold and uncomfortable, so you need to dress warmly and protect yourself from the elements. Here are some tips:
- Wear layers: Wearing layers can help you regulate your body temperature and stay warm and dry. You can wear a breathable base layer, an insulating mid-layer, and a waterproof outer layer. You can also adjust your layers according to the weather and your activity level.
- Wear accessories: Accessories can make a big difference in your comfort and safety. You can wear a hat, a scarf, and gloves to keep your head, neck, and hands warm. You can also wear sunglasses or goggles to protect your eyes from the sun and the snow. You can also wear boots, socks, and gaiters to keep your feet warm and dry.
- Bring extras: It is always good to bring some extra clothing and accessories, in case you get wet or cold. You can bring a spare hat, gloves, socks, and jacket, and store them in a dry bag. You can also bring a thermos with a hot drink, some snacks, and a first aid kit.
3. Experiment with different settings
Winter photography can be challenging, as the snow and ice can fool your camera’s metering and white balance systems. Here are some tips on how to adjust your settings and get the best results:
Exposure: The snow and ice can reflect a lot of light, making your camera think that the scene is brighter than it actually is. This can result in underexposed images, with grey and dull snow. To avoid this, you can use the exposure compensation feature of your camera and add some positive exposure, such as +1 or +2 stops. You can also use the histogram and the highlight alert (blinkies) of your camera to check the exposure and avoid clipping the highlights or the shadows.
White balance: The snow and ice can also affect the colour temperature of the scene, making your images look too blue or too yellow. To avoid this, you can use the white balance feature of your camera and choose a preset or a custom setting that matches the lighting conditions. You can also use a grey card or a white piece of paper to set the white balance manually. Alternatively, you can shoot in RAW format and adjust the white balance later in post-processing.
Focus: The snow and ice can also make it difficult for your camera to focus, as they lack contrast and detail. To avoid this, you can use the manual focus feature of your camera and focus on a specific point or area that has some texture or colour. You can also use the live view or the magnification feature of your camera to check the focus and fine-tune it. Alternatively, you can use the hyperfocal distance technique and set the focus at a distance that maximises the depth of field and the sharpness of the scene.
4. Try different compositions
Winter photography can be creative, as the snow and ice can create interesting shapes, patterns, and textures. Here are some tips on how to compose your images and make them more appealing:
Use the rule of thirds: The rule of thirds is a simple and effective way to compose your images. You can divide the frame into nine equal parts, using two horizontal and two vertical lines. You can then place the main subject or the horizon along one of the lines, or at one of the intersections, to create a balanced and harmonious image.
Use leading lines: Leading lines are lines that guide the viewer’s eye towards the main subject or the focal point of the image. You can use natural or man-made elements, such as roads, fences, rivers, or tracks, to create leading lines. You can also use the perspective and the angle of view to create leading lines, such as converging or diagonal lines.

Use frames: Frames are elements that surround or enclose the main subject or the focal point of the image. You can use natural or man-made elements, such as trees, branches, windows, or arches, to create frames. Frames can help you isolate the subject, draw attention to it, and add depth and context to the image.
Use negative space: Negative space is the empty or blank area around the main subject or the focal point of the image. You can use the sky, the snow, or the ice to create negative space. Negative space can help you simplify the image, emphasise the subject, and create a sense of scale and contrast.
5. Have fun and be creative
Winter photography can be fun and rewarding.
Some of our favourite winter kit
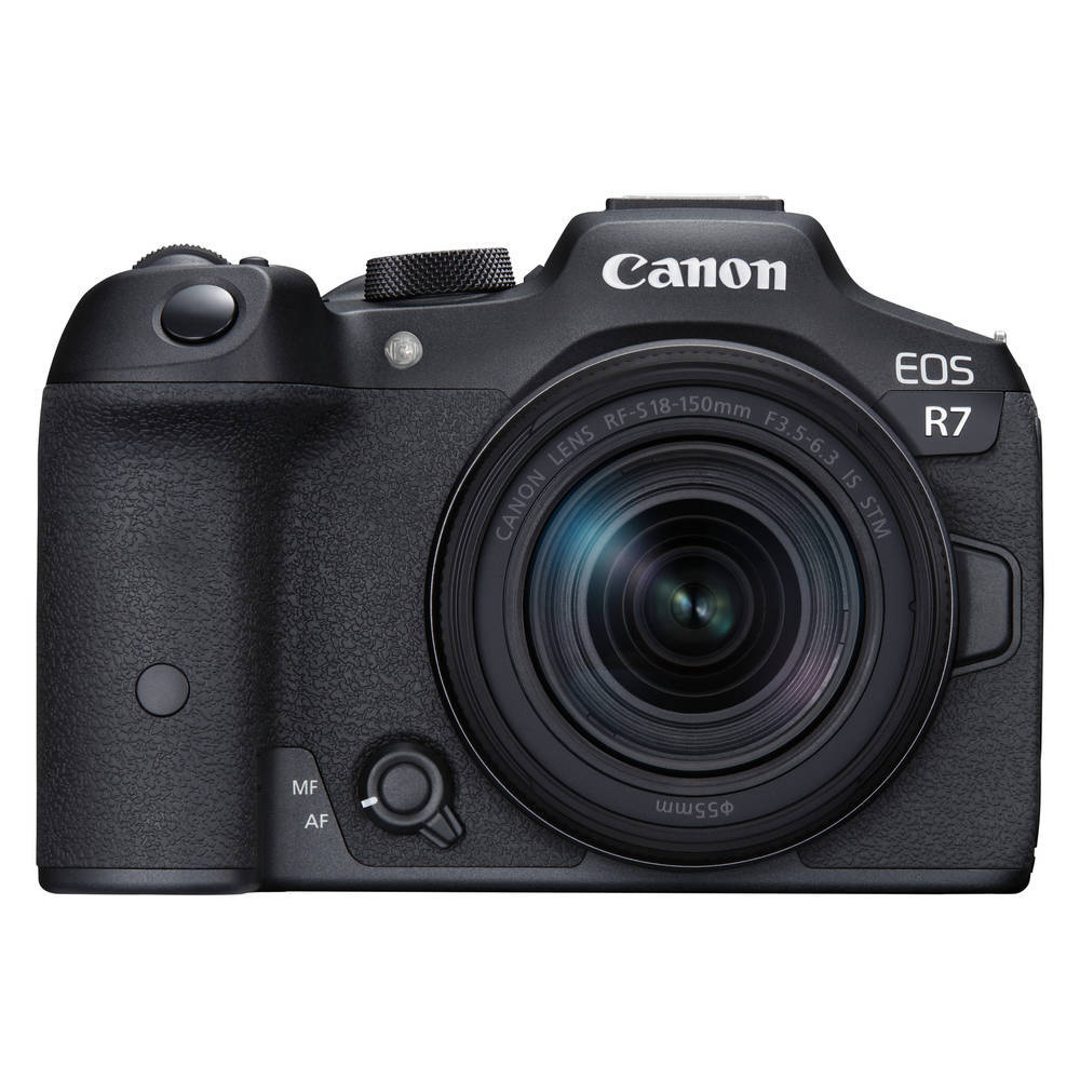
Canon R7 - Lightweight and weather sealed, perfect for Landscapes and wildlife photography.
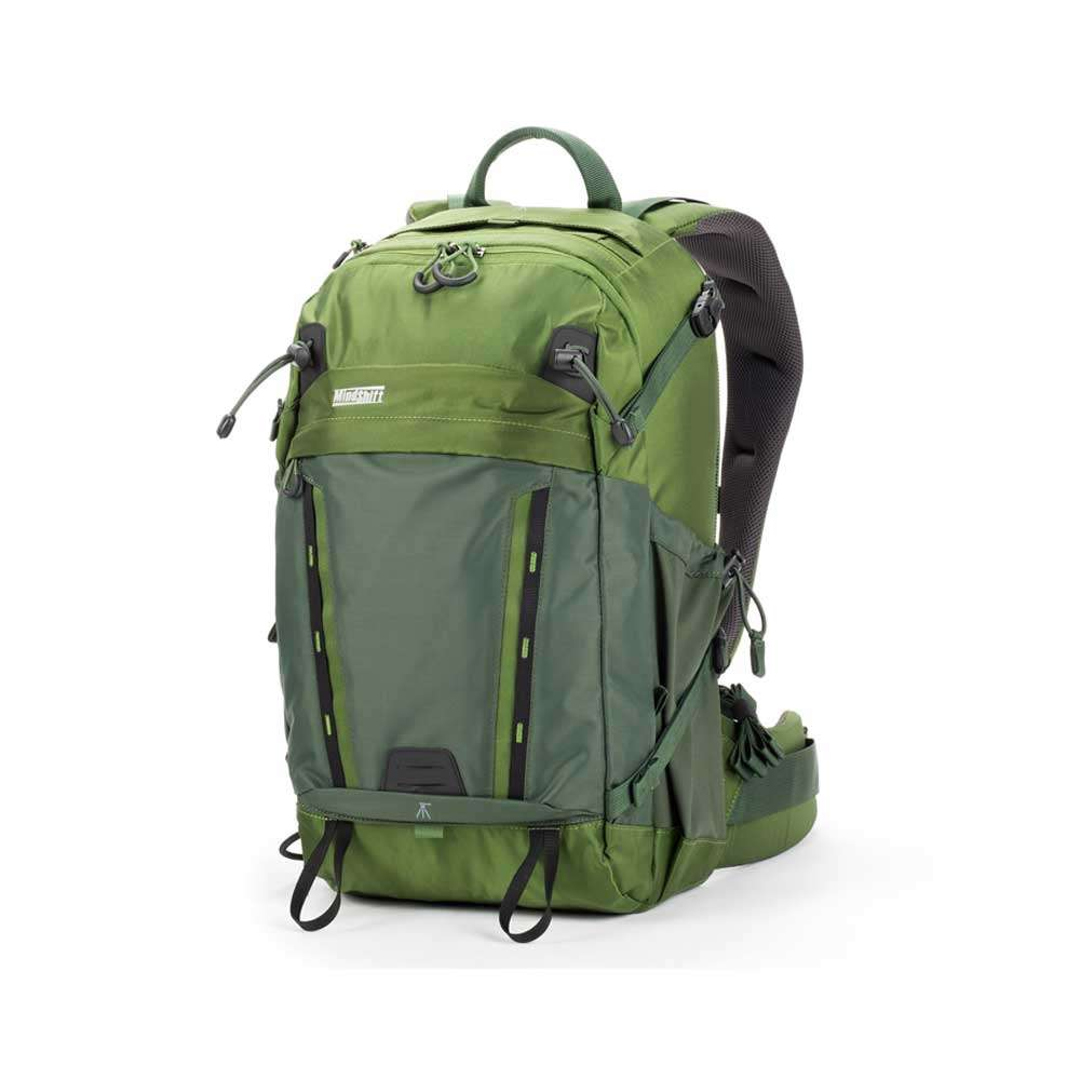
Mindshift Backlight Backpack - Lightweight and built for comfort while trekking. Backpacks are our favourite type of bag whilst out in the countryside.
Benro Bat Carbon fibre tripod - When looking for a lightweight tripod for trekking or hiking, Carbon Fibre is probably your best option. This tripod is compact, but can take up to 10kg of camera load.